
Entering the garden gates, I glance at the blackberry vine, that has become a living wall, noticing the pigment of green bright red, and deep plump purple berries. It is so mesmerizing that you are compelled to reach out your hand towards the site of the most juicy and plump blackberry. So delicious.
Blackberry vines grow wild here. If you leave it unattended it will become vigorous and conquer your yard. Our vine came with the place. The deer had eaten the new growth daily so that it never had a chance to thrive. When we installed our fence we decided to nurture it. Heck, it was a wonderful gift from Mother Nature so we created a trellis and to this day it thrives. Sometimes becoming a thorny green monster.
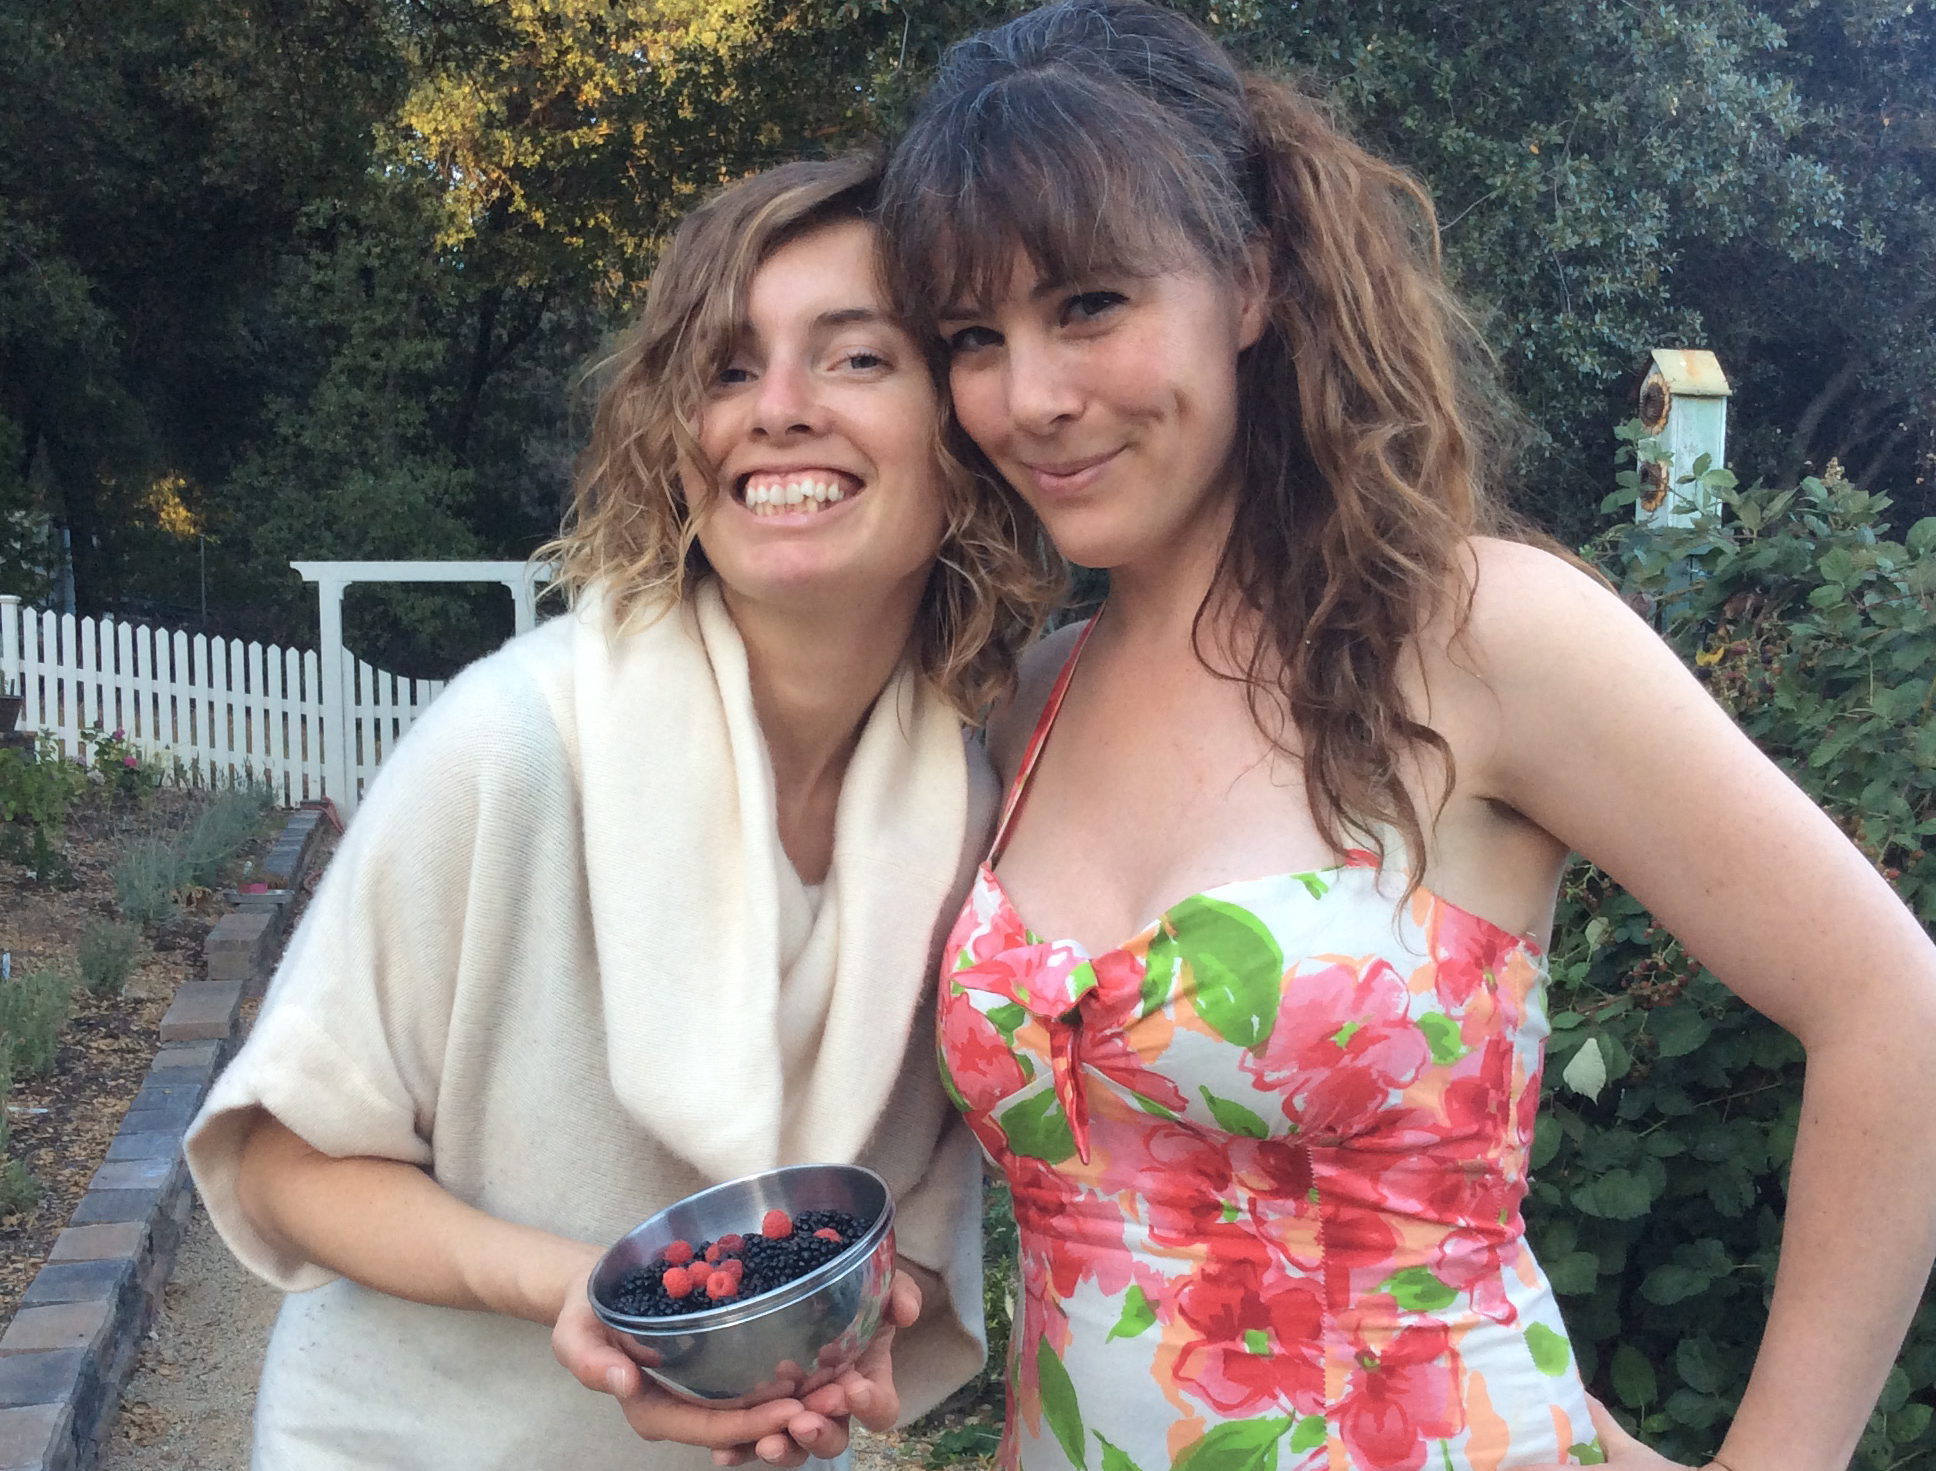
If you’ve ever been to a u pick farm, then you know how rewarding it is to harvest your food. It is as fresh as it can get babe. Occasionally a surprise may pop out of the vine while you’re picking the berries. Little did I know a baby green praying mantis would voluntarily jump out of the vine and on to my wrist while picking a berry. I mean who would want to hang out on thorny vine. It probably thought I was rescuing it.
Now what are we going to do with these plump, juicy blackberries? Make jam of course!
Blackberry Lime Jam

Ingredients
- 2 1/4 lbs. clean and fresh blackberries
- 3 1/2 cups bakers sugar
- 1/2 cups fresh squeezed lime juice
Directions
- Step 1 Prepare a hot water canning bath and 5 half-pint jars. Wash lids and rings in hot soapy water. Place clean lids and rings in hot water and set aside.
- Step 2 In a 4 quart sauce pan, combine blackberries and sugar. Use a wooden spoon to stir sugar into the berries, mashing the fruit to release the juice. Once the berries start to release juice and the sugar begins to dissolve, stir in lime juice.
- Step 3 Bring mixture to a simmer over medium heat, stir often. Reduce heat to low. Cook for 15-20 minutes until the jam gels ( jam test) or the mixture reaches 220 degrees measured with a candy thermometer.
- Step 4 Jam Test: Before starting, place a plate (or two) into a freezer. When ready to test jam, remove the cold plate from the freezer and put a small dollop of jam on the plate. Set is aside for a few minutes. Touch jam with your finger, if it formed a surface skin it is done. If it’s still runny it needs more time.
- Step 5 Ladle the jam into the prepared jars with a funnel, leaving 1/4 inch of head space. Use a non-metallic utensil to release any air pockets. Wipe the rims clean and seal with lids.
- Step 6 Process the jars in a hot water bath for 10 minutes. Turn off the heat and let the jars rest in the water bath for 10 minutes (make sure to adjust time with your elevation).
- Step 7 Carefully remove the jars from the water bath. Set aside on a kitchen towel to cool for 12 hours.
- Step 8 Check the lids for proper seals. Label and date them, and transfer to cupboard or pantry.
- Step 9 Refrigerate jars that are not properly seal and use within 2 months. Properly seal jars will last in cupboard for 12 months. Once open, store in refrigerator and consume within 2 months.


 Welcome to Life Beyond The City. A blog that encompasses so many of the things that I love and my quest for self sufficiency.