
How many of you are always finding a way to cut back on spending? It hit me pretty hard last fall when I purchased $50 or more worth of seed starters, broccoli, bok choy, kale, cauliflower, parsley, spinach, lettuce greens, swiss chard, and cabbage. Then I transplanted them in the ground only to find that pests (field mice, birds, and gophers) had eaten it all within a months time. After eliminating the pest problem and replacing what was lost, it became very costly. Thus I concluded that it will be less painfully expensive to start sowing my very own seeds. This is a big step for me because you’re taking a chance at all of mothers natures elements. You start wondering if your green thumb gardening skills are up to the task. By golly! I think this year I’m up for the task. I’m going to demonstrate every easy step that I’ve learned to help you be successful this summer in your garden. Nothing is more satisfying and rewarding than eating fresh homegrown produce from your own backyard.
Most of us associate springtime with re-birth and growth and this idea is never more in line with the season than to grow your own vegetable and herbs from tiny seeds.
Dirty seeds done dirt cheap!!
 Starting seeds, even for a beginner gardener, is pretty easy with these few steps. It all starts by simply purchasing some seeds at your local gardening supply store or nursery, or you can request a catalog from seed suppliers for example:
- Botanical Interests
- Pinetree Garden Seeds
- Peaceful Valley Farm and Garden Supply
- Seeds of Change
- Baker Creek Heirloom Seeds
This year I found Baker Creek Heirloom seeds, Pinetree Garden Seeds, and Botanical Interest had the greatest value on certain varieties. Its always best practice to look around, compare prices, and quality.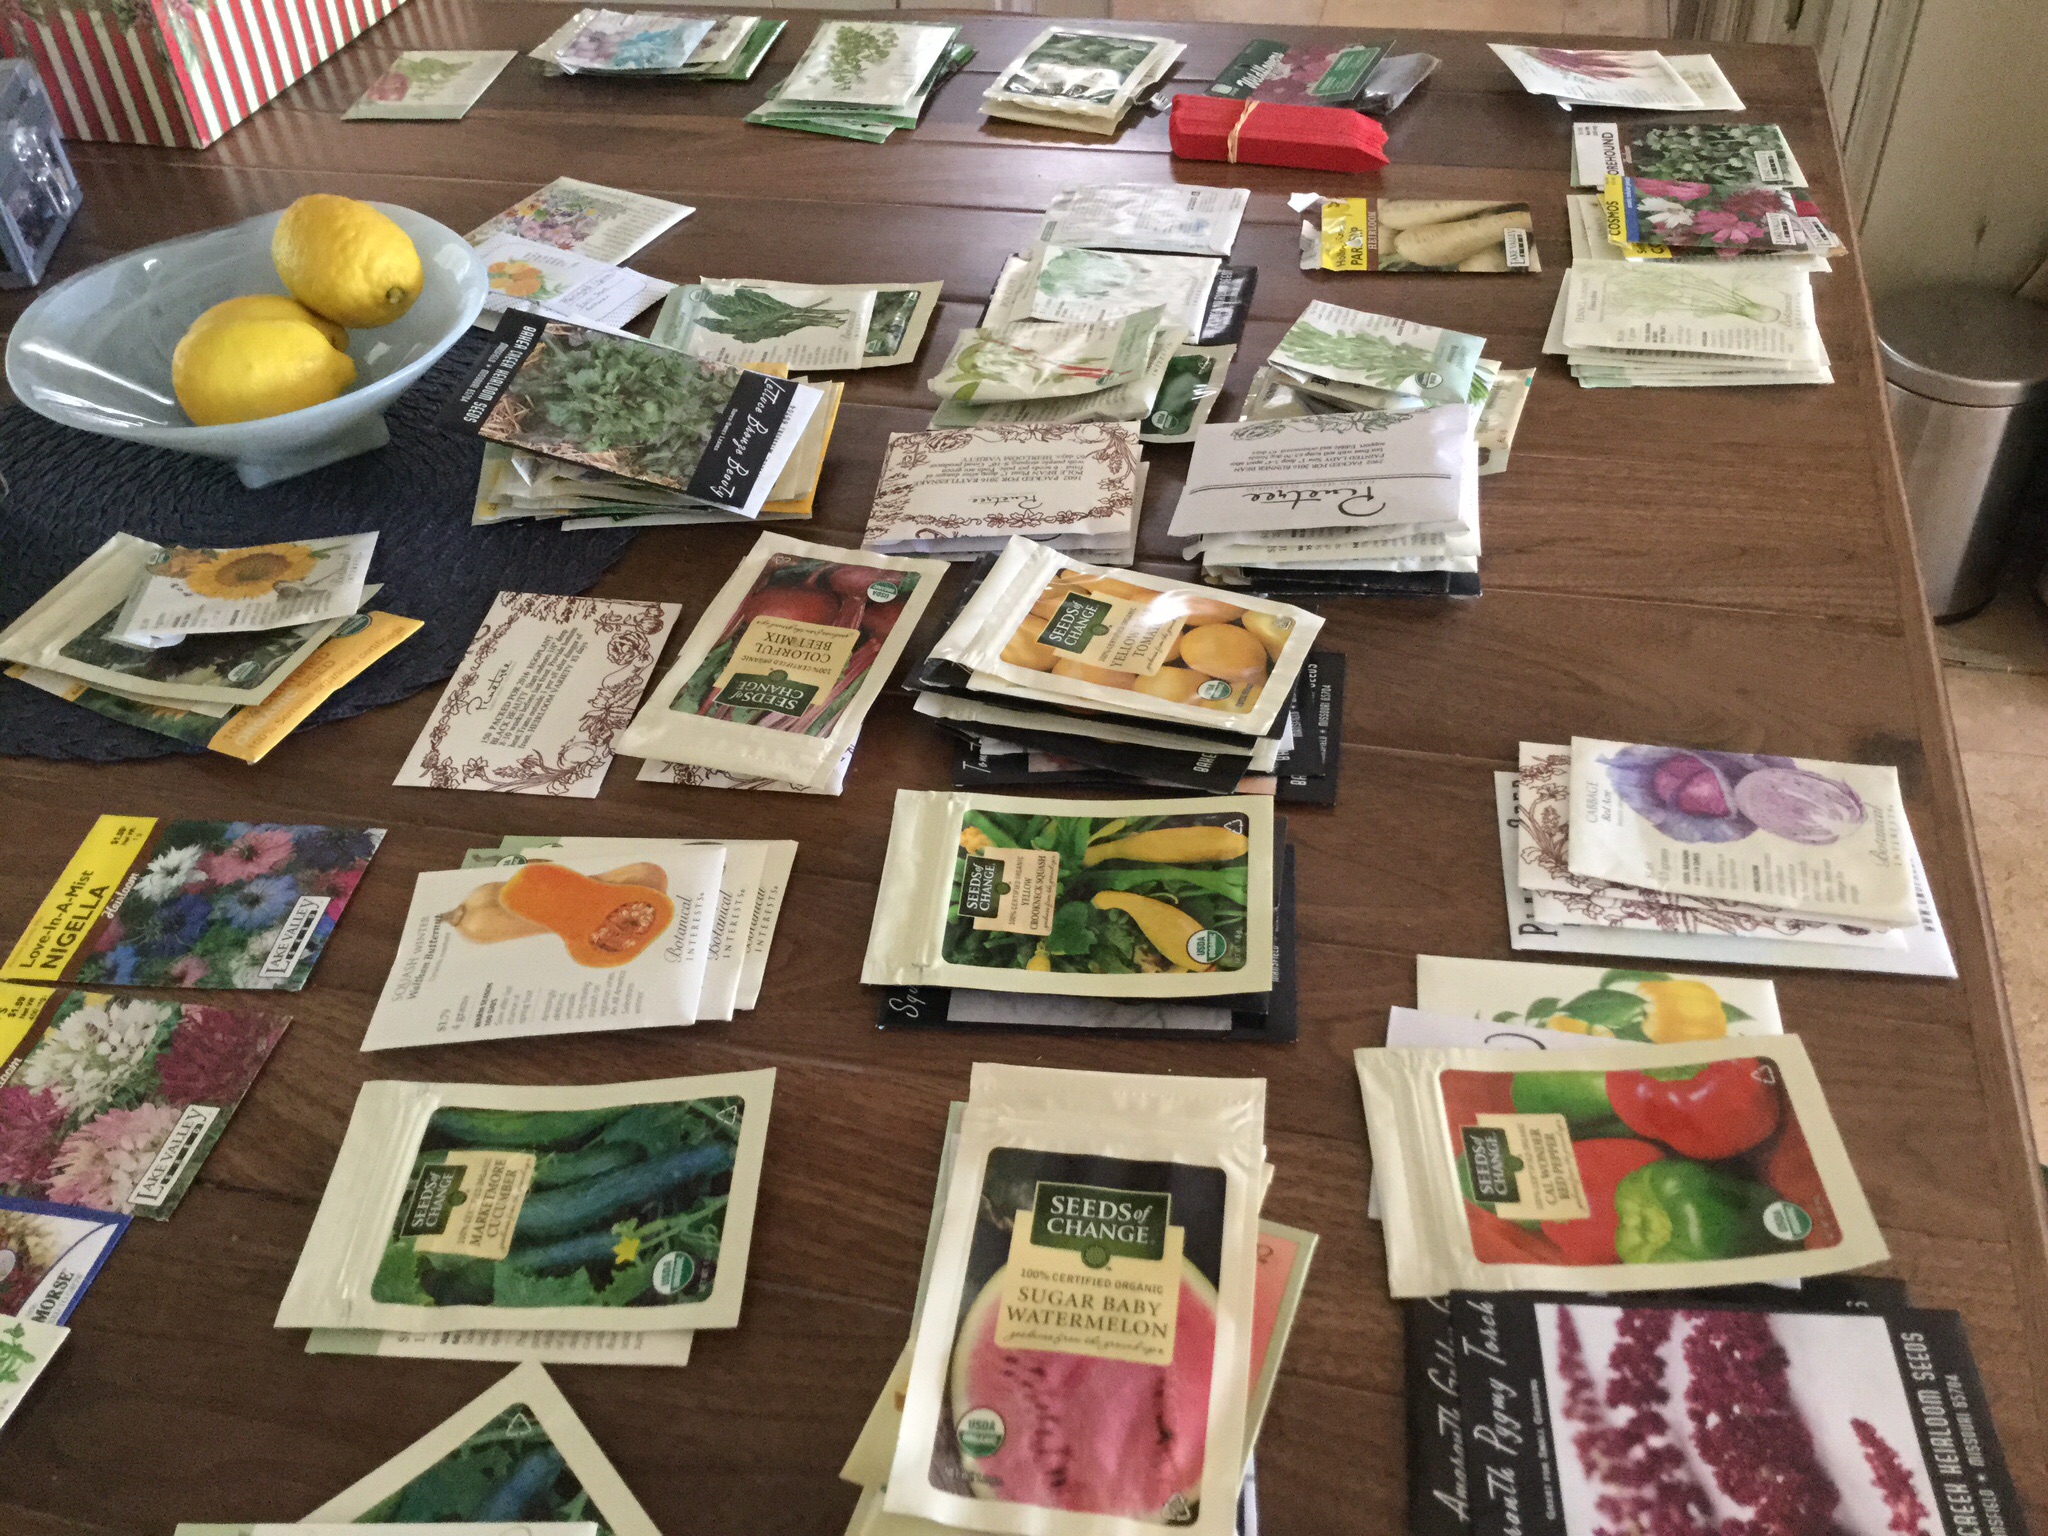
The seed packet will have instructions of its own that will likely serve you in planting any one type of seed in a proper way.
PREPARE MOISTENED SOIL
You will likely have your best success growing your own seeds in a seedling soil. This can be found at your local garden supply store or local nursery. In the past, I’ve had great success using Dr. Earth products. This year I’m going to sow this summer harvest seed selection in Dr. Earth’s Organic Home Grown Vegetable Garden Planting Mix. Once you’ve selected a soil, add enough water to the soil so that when you squeeze it in your hands it is moist, but no more than a couple of drops of water should ooze out. If you have a small project, you can prepare this mixture in a 5-gallon bucket. For larger projects, a wheel barrel will come in handy. Being that the product was stored outdoor with a steady week of rain, when we opened the planting mix the soil was already moist. If this happens to you and you’ve tested the soil in your hands, you may move on to the next step.
PLACE SOIL INTO CELLS OF TRAY
Over the years I’ve saved most of the plant start containers from the nurseries. All that collecting and storing of the empty trays came in really handy this year.
Place about an inch of soil into each cleaned cell, allowing it to remain loose instead of packed in tightly. This will ensure that the seedling’s root systems will have enough wiggle room and not be suffocated by the soil. Depress a small divot in the center of the soil for where the seeds will go. I’ve found that using my fingers or even the end of a sharpie marker is a good depth measurement tool. If you’ve stumbled upon a seed packet without planting instructions here is a quick rule of thumb. Be sure to go about twice as far down as the diameter of the seed (example: 1/4 inch deep for a seed that is 1/8 inches long).
PLACE 2-3 SEEDS IN EACH CELL
Once you’ve placed the divot in each cell, place about 2-3 seeds in each one. 2-3 seeds increases the chance of germination success. Then lightly replace some of the soil over the seeds. Misting the soil is highly recommended. If you are unable to use a mister, a lower pressure shower (a light rain affect) will work just fine. The key is not to disturb the soil and uncover the seeds. Not that long ago, with the help of some of my family members, we sowed an estimate of 40 plus, varieties of beneficial flowers, fruits, herbs, and vegetables for summer harvest this year. I am very grateful to have a family that occasionally supports and understands the value of sustainable living.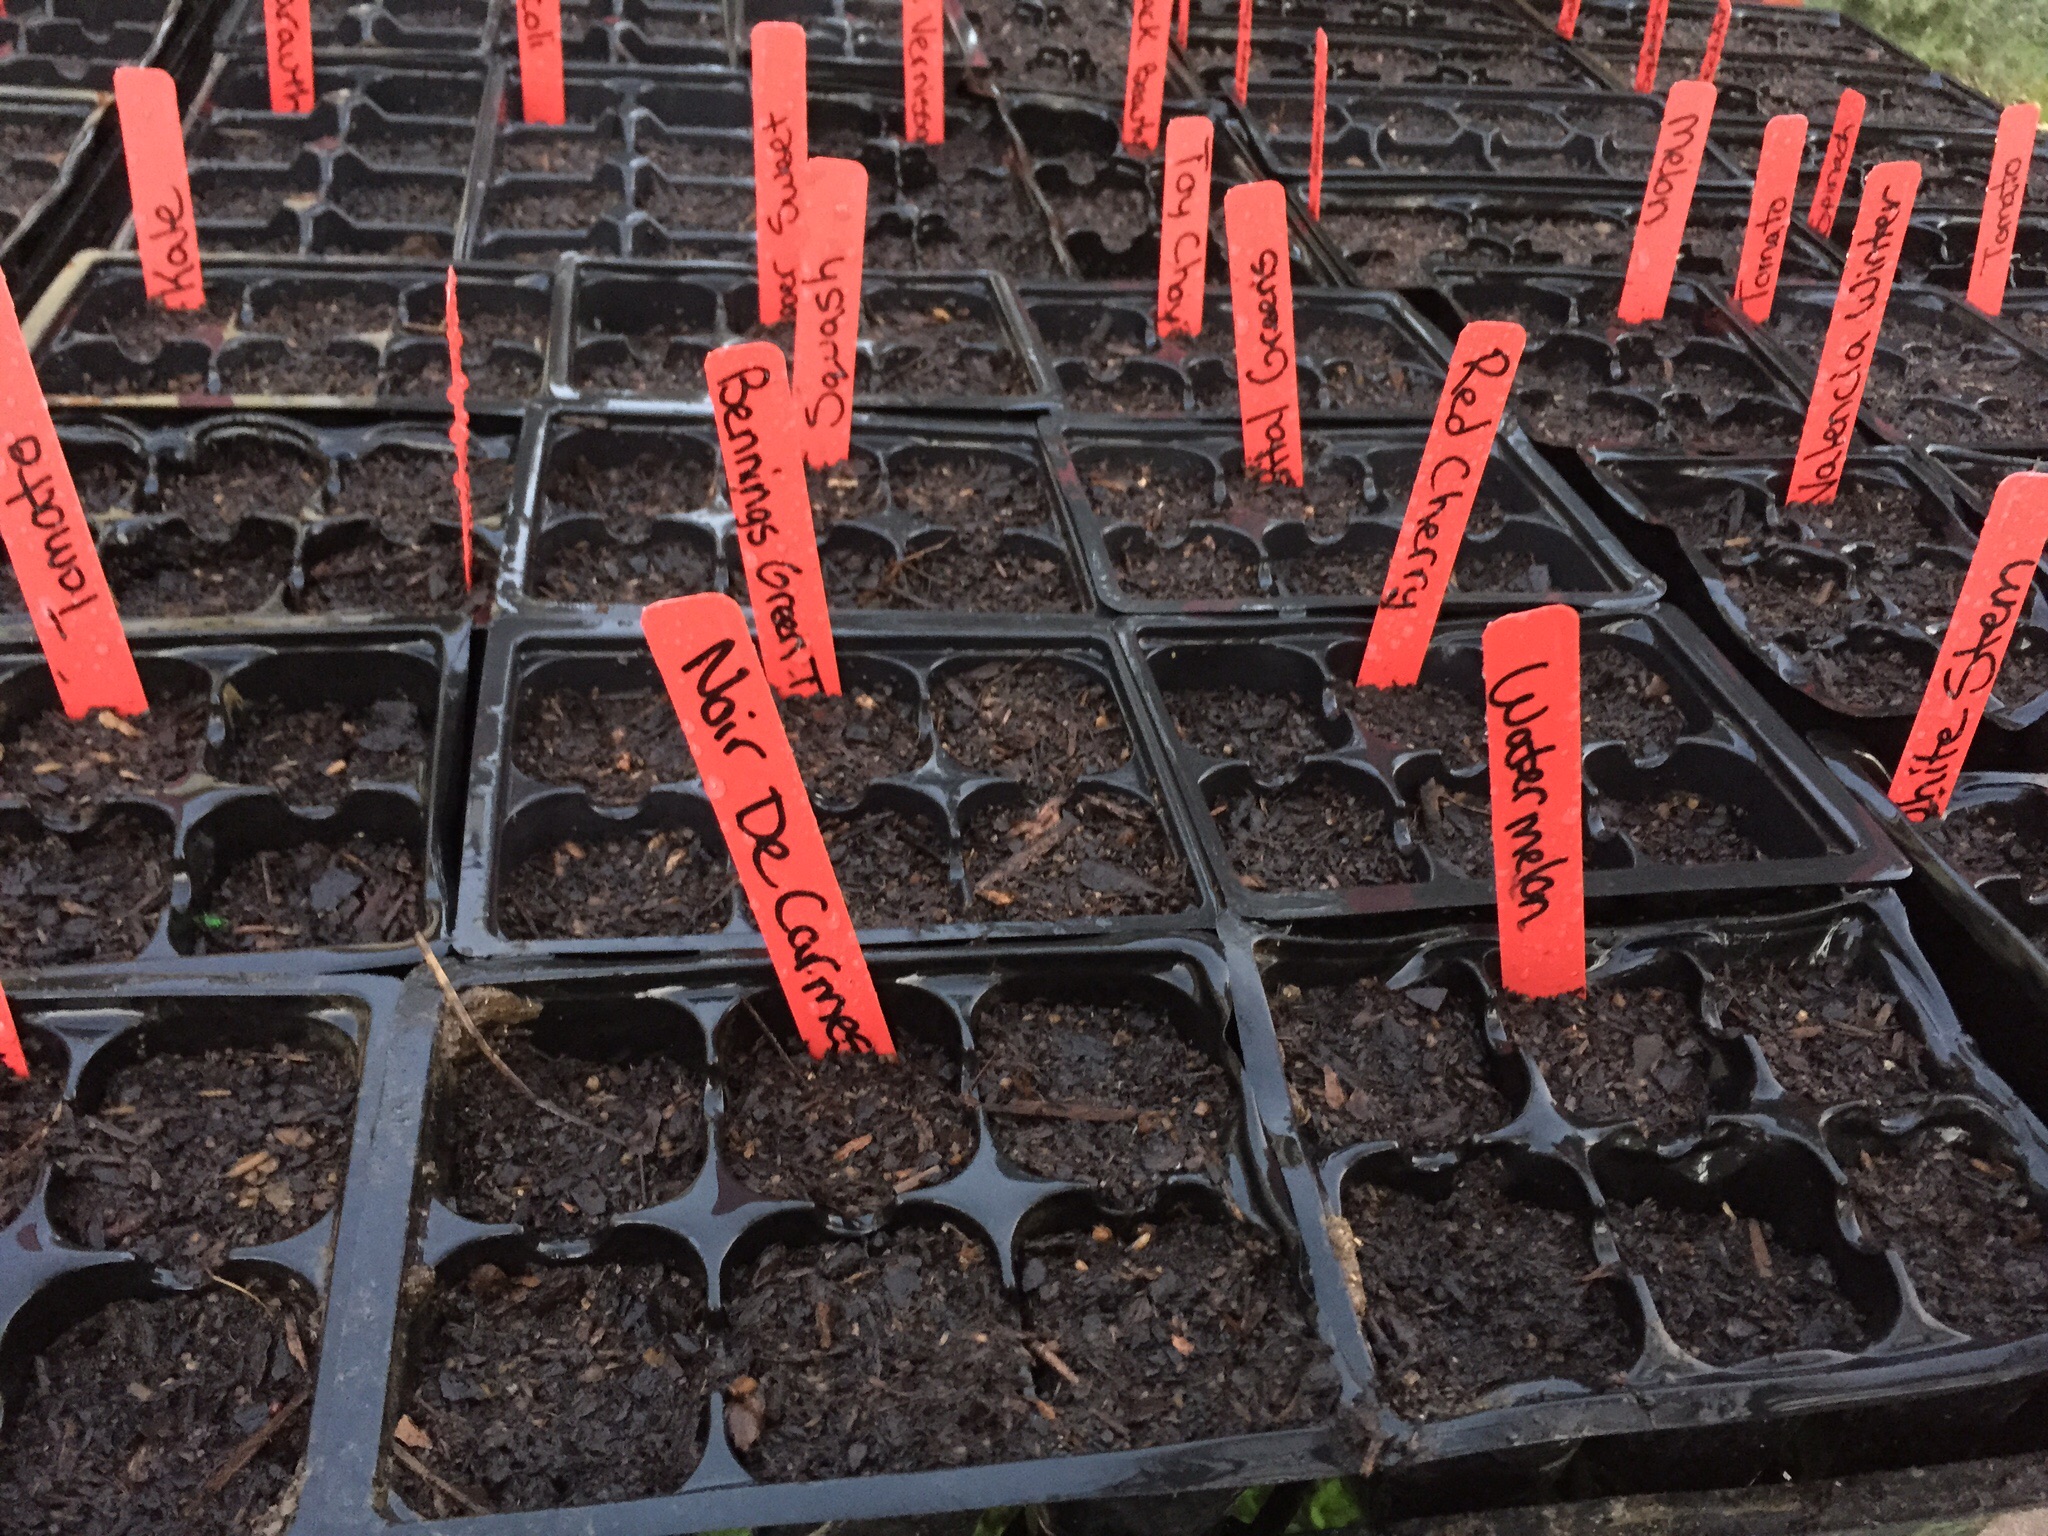
ALLOW THE SEEDS TO GROW… NOW WATCH THE MAGIC BEGIN!
Depending on the plant, the seed may take between 10-20 days to grow into a small seedling about a 1/2 inch tall. Be sure to water daily and place a transparent cover over the tray to help retain humidity or if possible leave the tray on top of a refrigerator or other warm surface to keep the seedlings at an ideal temperature for germination. Follow the specific instructions on the packet to determine if the seeds should be kept in direct sunlight or shade. This year I have my tray placed outside on a table in a warm area.
REMOVE ALL BUT ONE SEEDLING IN EACH TRAY CELL
Ultimately, you will want one seedling to grow in each cell, and by planting 2-3 seeds you have the opportunity to grow the seedling that is the largest and strongest. Once the seedlings have begun to germinate take a pair of scissors and cut all but one of the seedlings off at the base of the stem. Be sure not to pull the seedlings out by the root, as this will disrupt the root system of the seedling that is to remain.
Starting seeds has tremendous potential to be a satisfying and a very enjoyable experience. Please check out my future blog on transplanting seedlings/plants to help your babies grow from this early delicate stage to thriving plants that will produce throughout the summer.


 Welcome to Life Beyond The City. A blog that encompasses so many of the things that I love and my quest for self sufficiency.